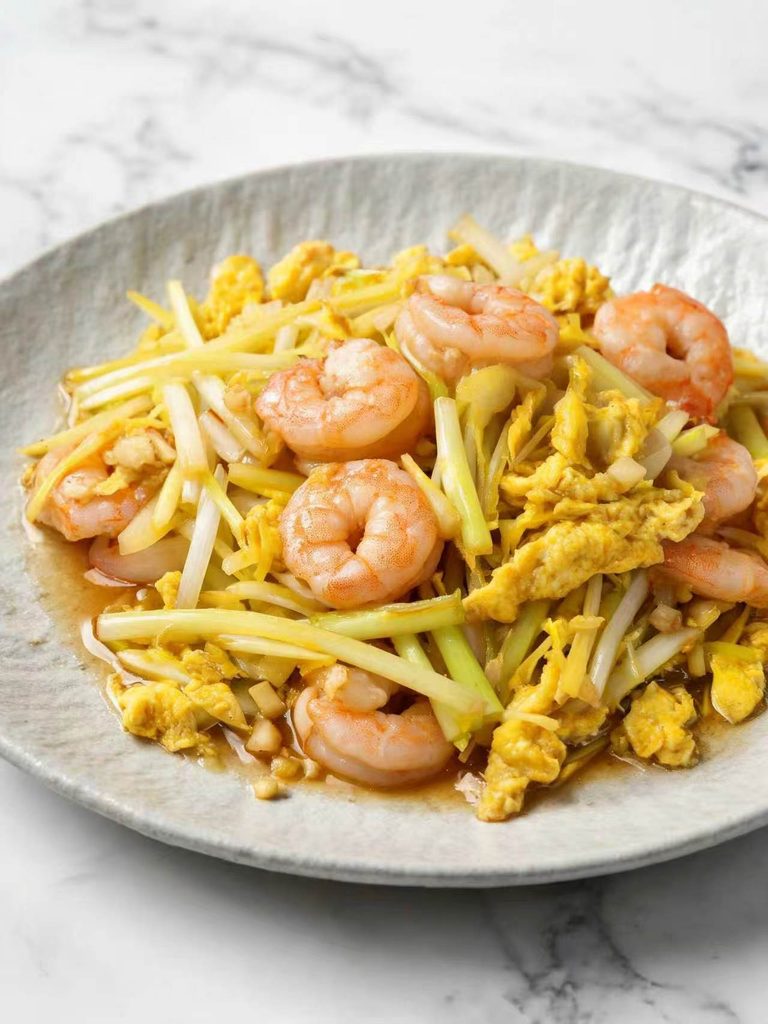
韭黄鸡蛋炒虾仁是道经典家常快手菜,虾仁Q弹,鸡蛋滑嫩,韭黄鲜香。大火爆炒出锅气,咸鲜入味,配米饭或者拌面条都超绝。
Stir-Fried Chives, Eggs and Shrimp is a classic home-style dish. The shrimp are bouncy, the eggs are tender, and the chives are fragrant. It’s a quick and savory dish, perfect with steamed rice or noodles.
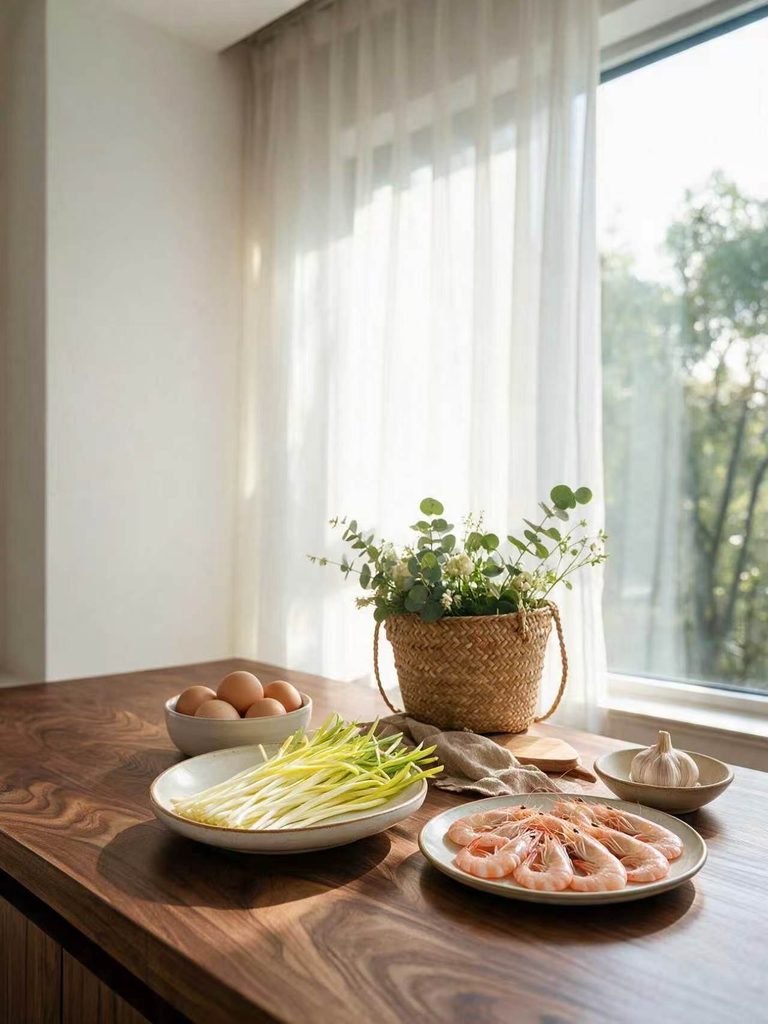
🌴食材 | Ingredients:
虾仁,200g(选鲜虾仁,去虾线)。/ Shrimp, 200g (fresh, deveined).
鸡蛋,3个(打散备用)。/ Eggs, 3 (beaten).
韭黄,1把(约200g,洗净切段)。/ Yellow chives, 1 bunch (about 200g, washed and cut into sections).
🌴配料 | Aromatics:
蒜末,3~4瓣。/ Minced garlic, 3-4 cloves.
姜末,一小块。/ Minced ginger, a small piece.
🌴调味 | Seasonings:
料酒,1勺(约10ml,腌虾仁用)。/ Cooking wine, 1 tbsp (about 10ml, for marinating).
淀粉,1小勺(约5g,腌虾仁用)。/ Cornstarch, 1 tsp (about 5g, for marinating).
蛋清,少许(腌虾仁用,嫩滑)。/ Egg white, a little (for marinating).
生抽,1勺(约10ml)。/ Light soy sauce, 1 tbsp (about 10ml).
蚝油,半勺(约5ml)。/ Oyster sauce, 1/2 tbsp (about 5ml).
白糖,少许(提鲜)。/ A pinch of sugar (to enhance freshness).
白胡椒粉,少许。/ A pinch of white pepper powder.
盐,适量。/ Salt, to taste.
食用油,适量。/ Cooking oil, as needed.
🌴做法 | Instructions:
1,腌制虾仁
虾仁去虾线,洗净沥干,加1勺(约10ml)料酒、少许蛋清、1小勺(约5g)淀粉、少许盐和白胡椒粉,抓匀腌制10分钟。⚠️ 虾仁加蛋清和淀粉腌制,口感更Q弹嫩滑。我试过偷懒不腌直接下锅,结果虾仁一下锅就缩水变老,口感像橡皮筋,千万别学我。
Devein the shrimp, rinse, and drain. Marinate with cooking wine, egg white, cornstarch, salt, and white pepper for 10 minutes. ⚠️ This keeps the shrimp bouncy and tender.
2,处理韭黄
韭黄洗净,切成4~5厘米的长段,梗和叶分开放。⚠️ 梗和叶成熟度不一样,分开放才能保证口感一致。我试过一起下锅,结果叶子炒烂了梗还是生的。
Wash the yellow chives and cut them into 4-5cm sections, separating the stems and leaves. ⚠️ They cook at different speeds.
3,炒鸡蛋
锅里倒油,油热后倒入鸡蛋液,中火炒到凝固,用铲子划散成块,盛出备用。⚠️ 鸡蛋单独炒,蛋块分明,口感更香。千万别把鸡蛋和虾仁一起炒,那样鸡蛋会碎成渣,虾仁也不够Q弹。
Heat oil in the pan, add the beaten eggs, and scramble over medium heat. Set aside. ⚠️ Scramble the eggs separately for a better texture.
4,滑炒虾仁
锅里留底油,放入腌好的虾仁,大火快速滑炒到变色卷曲,立刻盛出备用。⚠️ 虾仁变色就盛出,煮久了肉会老。我试过炒太久,结果虾仁缩水变硬,可惜了那口鲜甜。
Add the shrimp to the pan and stir-fry over high heat until they turn pink and curl up. Set aside. ⚠️ Don’t overcook them.
5,爆香
锅里留底油,放入蒜末、姜末,小火炒香。⚠️ 别炒糊,闻到香味就行。
Add minced garlic and ginger to the pan with a little oil. Stir-fry over low heat until fragrant. ⚠️ Don’t burn them.
6,炒韭黄
转大火,先放入韭黄梗,快速翻炒30秒,炒到梗变软。再放入韭黄叶,继续翻炒20秒。⚠️ 韭黄很容易熟,全程大火快炒,保持鲜嫩。我试过炒太久,结果韭黄出水变软,口感全无。
Turn to high heat, add the chive stems first, and stir-fry for 30 seconds. Then add the leaves and stir-fry for another 20 seconds. ⚠️ Keep the heat high to keep them crisp.
7,合炒
倒入炒好的鸡蛋和滑炒好的虾仁,加1勺(约10ml)生抽、半勺(约5ml)蚝油、少许白糖,快速翻炒均匀。⚠️ 全程大火快炒,保持锅气。我试过火太小,结果炒出来水汪汪的,一点锅气都没有。
Add the scrambled eggs and shrimp. Add light soy sauce, oyster sauce, and sugar. Stir-fry quickly over high heat. ⚠️ Keep the heat high.
8,调味出锅
撒少许白胡椒粉,加适量盐,快速翻匀。关火,趁热吃,虾仁Q弹,鸡蛋滑嫩,韭黄鲜香。⚠️ 盐最后放,尝一下再决定加不加,因为生抽和蚝油都有咸味。
Sprinkle with white pepper and add salt to taste. Turn off the heat and serve hot. ⚠️ Taste before adding salt.
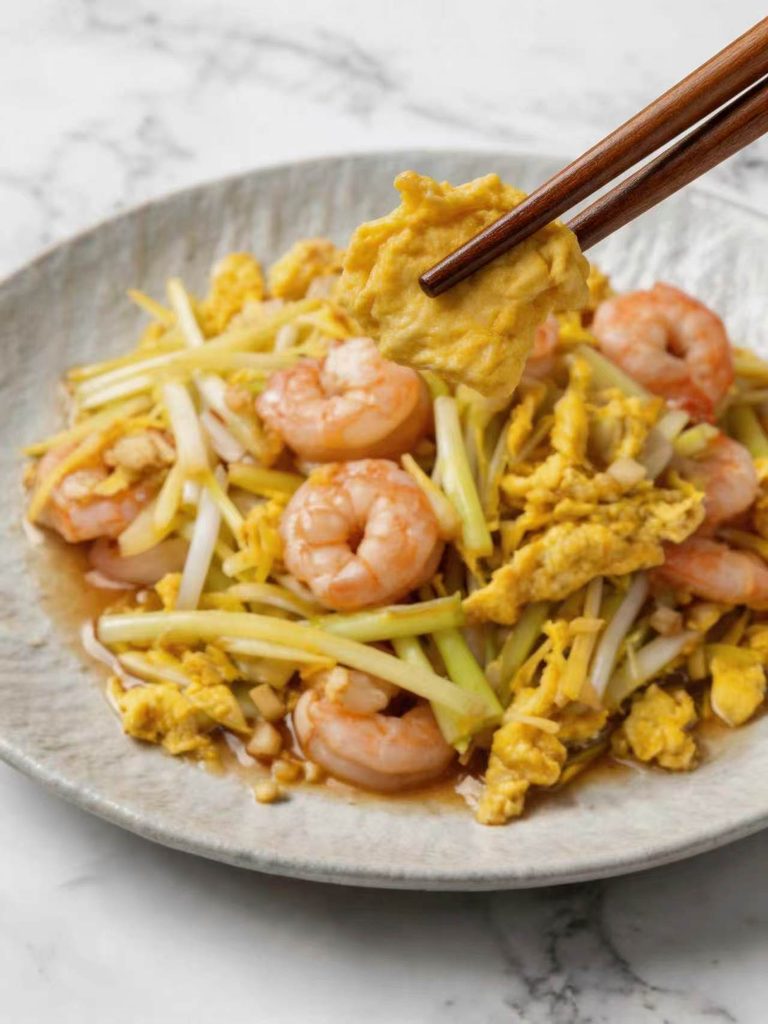
宝宝们虾仁加蛋清和淀粉腌制,口感更Q弹嫩滑。韭黄梗和叶分开放,梗先下锅,叶后下锅,口感才一致。鸡蛋单独炒,最后回锅,蛋块分明。全程大火快炒,保持锅气。盐最后放,尝一下再决定加不加。
Tips: Marinate the shrimp with egg white and cornstarch. Separate the chive stems and leaves. Scramble the eggs separately. Keep the heat high. Taste before adding salt.
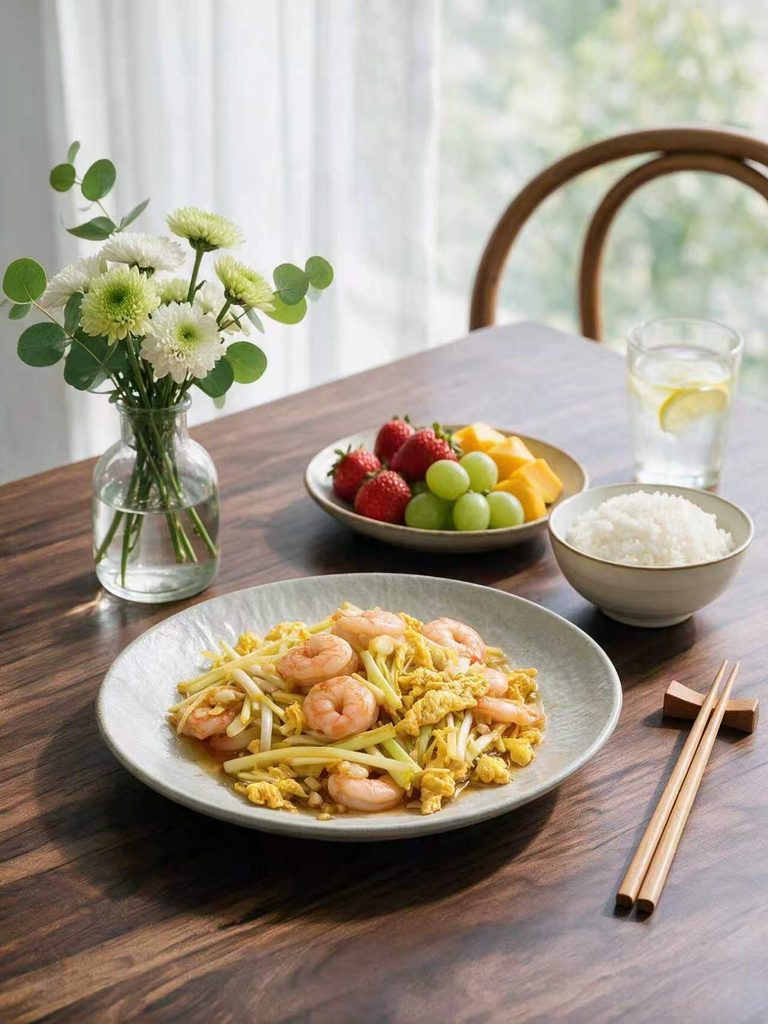
这道【韭黄鸡蛋炒虾仁 | Stir-fried Chives, Eggs and Shrimp】是鲜香快手的家常菜。如果你喜欢这种简单鲜美的口感,还可以试试我之前写的【西红柿鸡蛋 | Tomato and Egg Stir-fry】。想看更多经典家常菜,可以逛逛我的【家常菜 | Home-style】分类。If you enjoy this fresh and savory flavor, you should also try my Tomato and Egg Stir-fry. For more classic home-style dishes, check out my Home-style category.
❤️ 点击主页,更多美味食谱持续更新! / Click the homepage for more delicious recipes!